Key Takeaways
A rain garden is a shallow, planted area designed to collect and absorb runoff from roofs, driveways, and lawns, reducing the volume of stormwater entering sewers and streams.
Proper drainage is essential: your garden should infiltrate water within 24-48 hours, with amended soil if needed and an overflow route for heavy rains.
Native plants are critical because they’re adapted to local conditions, have deep root systems for infiltration, and support pollinators and wildlife.
Plant placement matters: water‑loving species go in the lowest zone, while drought‑tolerant plants belong near the edges.
Rain gardens offer multiple benefits: improved drainage, reduced irrigation needs, cleaner water, and an attractive, low‑maintenance landscape feature.
Design with intention and shape the garden as a gentle bowl, use shredded mulch that won’t float away, and match the style (modern, natural, structured) to your space.
Avoid common mistakes like poor location, flat or overly deep basins, neglecting overflow planning, or skipping care in the first year.
Even a small rain garden can make a measurable impact, turning runoff into a resource while creating a beautiful, functional part of your yard.
One inch of rain on a 1,000-square-foot roof can produce over 600 gallons of runoff. That’s not a typo. That’s a flood of stormwater racing off your property, and straight into sewers, streams, and, eventually, someone else’s headache.
But here’s the good news: you don’t need to be a hydrologist to do something about it.
Enter the rain garden, a deceptively simple landscape feature that quietly manages runoff, supports local ecosystems, and, yes, makes your yard look incredible. This isn’t some crunchy granola hippie idea (though your local pollinators will throw you a party). It’s a smart, efficient solution that urban planners, homeowners, and municipalities are adopting for good reason.
In this guide, we’re not going to bore you with vague fluff or endless “go green” mantras. You’ll get clear, actionable steps on how to build a rain garden that really works. From drainage to plant selection, we’re covering what matters, what doesn’t, and what can absolutely break the system if you ignore it.
So whether you’ve got a soggy lawn, a patch of unused turf, or a parking lot that desperately needs a purpose, stick around. This isn’t just about pretty plants. It’s about smarter landscapes, cleaner water, and doing something practical that actually makes a difference.
Let’s dig in. (Not sorry for that one.)
Turn Rainwater Into a Resource
What Is a Rain Garden?
Let’s start with the basics. A rain garden is a shallow, planted depression designed to collect and absorb rainwater runoff from roofs, driveways, sidewalks, or even compacted lawns. Think of it as a sponge with a stylish landscaping degree.
The design slows down water, lets it soak into the ground, and naturally filters out pollutants. It’s not a pond. It’s not a swamp. And no, you don’t need a rainforest to build one. Properly designed, it drains within 24-48 hours long before mosquitoes start scouting it out as a nursery.
Here’s the cool part: it’s passive. Once it’s in, it does the work for you. No pumps. No electricity. No tech. Just physics, plants, and smart design.
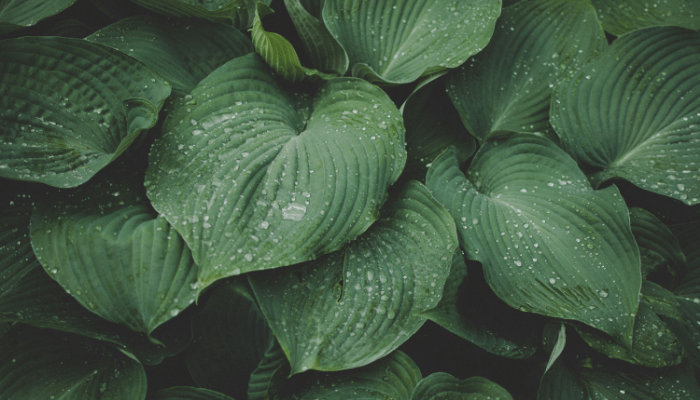
Benefits of a Rain Garden
Let’s be clear: rain gardens aren’t just about looking pretty. They’re problem-solvers in disguise.
- Runoff control: They absorb thousands of litres of water that would otherwise rush into storm drains, carrying oil, pesticides, and debris straight to the nearest waterway.
- Drainage relief: Tired of that soggy spot near your downspout? This fixes that. Rain gardens handle water right where it lands.
- Ecosystem booster: Native plants attract bees, butterflies, and birds. They’re basically Airbnb hosts for pollinators.
- Water bill win: More absorption means less irrigation. Let nature do the heavy lifting.
- Low maintenance: Once it’s established, a rain garden mostly takes care of itself. No weeding marathons. No pruning panic.
Bottom line: it’s functional beauty. And it’s one of the rare landscaping projects that actually pays off in environmental value.
Rain Garden Drainage
You can plant the most stunning garden on the block, but if the water doesn’t drain? You’ve built a mosquito motel, not a rain garden.
Drainage is the backbone of the whole system. It decides whether your garden thrives or turns into a swampy mess you avoid like last season’s kale smoothie trend.
Here’s what good drainage looks like:
- Infiltration within 24-48 hours
Water should soak into the soil, not linger like a bad houseguest. - Soil that helps, not hinders
Clay-heavy soil? You’ll need to amend it with compost and sand. Sandy soil? You’re in luck, just don’t forget the mulch. - An overflow route
Every rain garden needs an emergency exit. Add a shallow trench or a rock swale to direct excess water to a safe area (like a lawn or a dry well). - Slope that works
Your garden should slope toward the center from all sides. A gentle bowl, not a crater.
Bonus tip: If you’re unsure how your yard handles water, observe it during the next downpour. The water will show you exactly where it wants to go. Your job is to guide it there, and slow it down.
Choosing the Right Rain Garden Plants
This is where rain gardens really shine. Native plants aren’t just a nice-to-have, they’re non-negotiable. They’ve adapted to your local climate, soils, and weather patterns. They know when to hunker down and when to thrive.
You want deep-rooted species that can handle both drought and flood. Think resilient. Think flexible. Think plants that are built for drama.
Here are a few rockstars (check your region for specifics):
- Blue flag iris – Stunning blooms and loves wet feet.
- Swamp milkweed – Monarch magnet.
- Black-eyed Susan – Practically unkillable.
- Joe Pye weed – Tall, dramatic, and butterfly-approved.
- Switchgrass – Handles anything you throw at it.
Skip the exotics. They’ll struggle, die, or worse – take over and become an invasive mess. Stick with locals. They’ll reward you with durability and less stress.
Why native plants?
- They’re adapted to local conditions: climate, pests, rainfall, and all.
- They have deep root systems, which improve infiltration and prevent erosion.
- They require less maintenance, because they don’t need pampering to survive.
- They support local wildlife, including birds, bees, and butterflies.
Here’s how to think about plant placement in your rain garden:
- Bottom zone (wettest):
Blue flag iris, cardinal flower, swamp milkweed, sedges - Mid zone (moist, but drains quickly):
Black-eyed Susan, bee balm, Joe Pye weed, turtlehead - Upper edge (drier):
Little bluestem, coneflowers, switchgrass, yarrow
Stick with regionally native plants whenever possible. Not sure what’s native to your area? Check with a local extension office, conservation center, or native plant society. Or just ask someone who’s been gardening in your zip code longer than you’ve been Googling “rain garden ideas.”
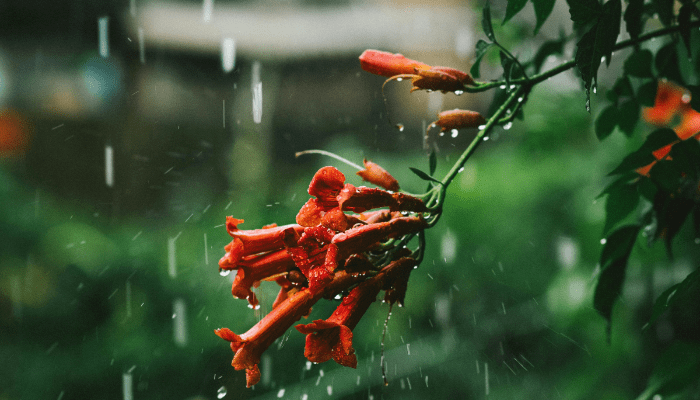
How to Design and Build a Rain Garden
Designing a rain garden isn’t about artistic vision. It’s about water flow.
Step 1: Choose your location.
Look for a low-lying area where water already pools, ideally at least 10 feet away from your home’s foundation.
Step 2: Test your soil.
Dig a hole, fill it with water, and see how fast it drains. If it’s still full after 24 hours, you’ll need to amend the soil or rethink the location.
Step 3: Dig and shape.
Your garden should be about 10-20 cm deep with gently sloping sides. Shovel responsibly.
Step 4: Improve infiltration.
Mix in compost and sand if your soil is clay-heavy. Good drainage is the name of the game.
Step 5: Plant like you mean it.
Put the thirstiest plants in the lowest spots and the drought-tolerant ones near the edges. It’s a plant-based water management system.
Step 6: Mulch it.
Use shredded hardwood mulch, it doesn’t float away like bark chips do. No need to chase mulch after every rainstorm.
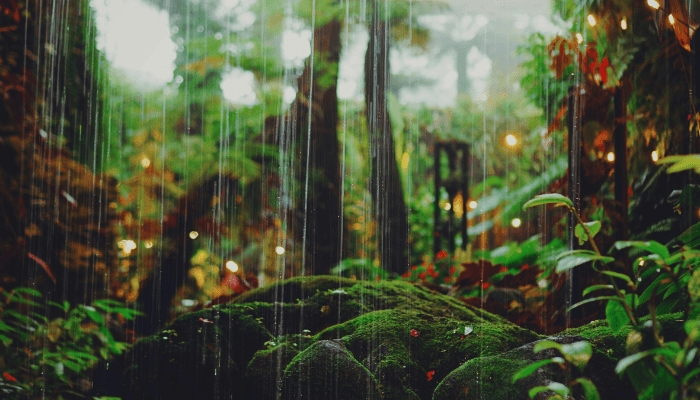
Rain Garden Ideas & Inspiration
You don’t need a sprawling yard or an award-winning designer to make this look good.
- Small space? Use a corner near the garage or under a downspout. Even a 1m² garden can handle real runoff.
- Want contrast? Mix grasses with flowering perennials for a layered, dynamic look.
- Like structure? Add a rock border or stepping stones through the center.
- Feeling modern? Use symmetry, metal edging, and sleek planters to give it architectural appeal.
- Wild at heart? Let it go native and natural. Let the bees do their thing.
Rain gardens can be sleek, cottage-core, zen-inspired, or totally informal. Whatever matches your space and your vibe. Just make sure it’s doing its job underneath all that charm.
Common Mistakes to Avoid
Even good ideas can go sideways if you skip the fundamentals.
- Wrong location – Don’t place it over your septic system or right against the house. That’s not drainage, that’s disaster.
- Poor plant selection – Not all natives are created equal. Pick ones suited to your region and soil.
- Too flat or too steep – Your garden needs to be just deep enough. Not a puddle. Not a pit.
- Skipping overflow planning – Always, always include an overflow outlet for heavy rain events.
- Neglecting the first year – This is the “establishment phase.” Water it. Weed it. Baby it. After that? It’ll thrive.

Conclusion
A rain garden isn’t just a trendy landscaping feature. It’s infrastructure in disguise. It works while you sleep, filters water while you relax, and supports biodiversity while your neighbors are still fighting puddles with push brooms.
You don’t need a massive budget or a team of landscape architects. You need a shovel, a plan, and the right native plants. Start with a small corner of your yard. Watch how it handles a downpour. Tweak it. Improve it. And then don’t be surprised when the local bees treat your garden like a VIP lounge.
Remember: water will always go somewhere. Rain gardens make sure it goes somewhere smart.
You’re not just planting flowers. You’re reducing runoff, protecting local waterways, and creating a space that actually works for you, your community, and the environment. That’s impact. Real, measurable, muddy-boot-level impact.
So go ahead, design a rain garden. Get your hands dirty. And if someone asks what you’re doing out there with all those native plants and that confident energy? Tell them you’re just improving the neighborhood, one storm at a time.
Because you are.
Don’t want to embark on this journey alone?
At Oásis Biosistema, we design regenerative landscapes that manage water naturally and beautifully. Whether it’s a custom rain garden or full ecological system, we’ll help your space work smarter.
FAQ
What are the disadvantages of a rain garden?
Rain gardens can require significant space, ongoing maintenance, and proper soil conditions to function effectively.
They may not work well in clay-heavy soils without modification and can become waterlogged if poorly designed. Regular upkeep is needed to manage weeds and sediment buildup.
How to make a rainwater garden?
To make a rainwater garden, choose a low-lying area, test drainage, dig 15–30 cm deep, add a soil mix (sand, compost, and topsoil), and plant native, water-tolerant species.
Direct downspouts or runoff into the garden and use mulch to retain moisture and reduce erosion.
Do rain gardens attract mosquitoes?
No, properly designed rain gardens do not attract mosquitoes because they drain within 24–48 hours, preventing mosquito breeding.
Standing water that lasts longer than 72 hours may encourage mosquitoes, so ensure your garden drains quickly.
What plants are good for rain gardens?
Good plants for rain gardens include native species that tolerate both wet and dry conditions, such as iris, sedge, joe-pye weed, black-eyed Susan, and swamp milkweed.
Choose a mix of deep-rooted grasses, perennials, and shrubs for structure and water absorption.

